You may have a lot of preconceived ideas about what we do on our bicycle frame building course. In our consumerist society we are used to “products” being turned out as fast and as cheaply as possible. Frame building however is a craft which has been honed and refined over nearly a hundred years and you will be surprised to see the amount of work, love and effort which goes into each part of the process.
With the busy and stressful lives we live these days. As well as building a frame which will provide many years of enjoyable cycling, while doing so you will be able to zone out of all your worldly cares. Its brilliant therapy!
So where do we start?
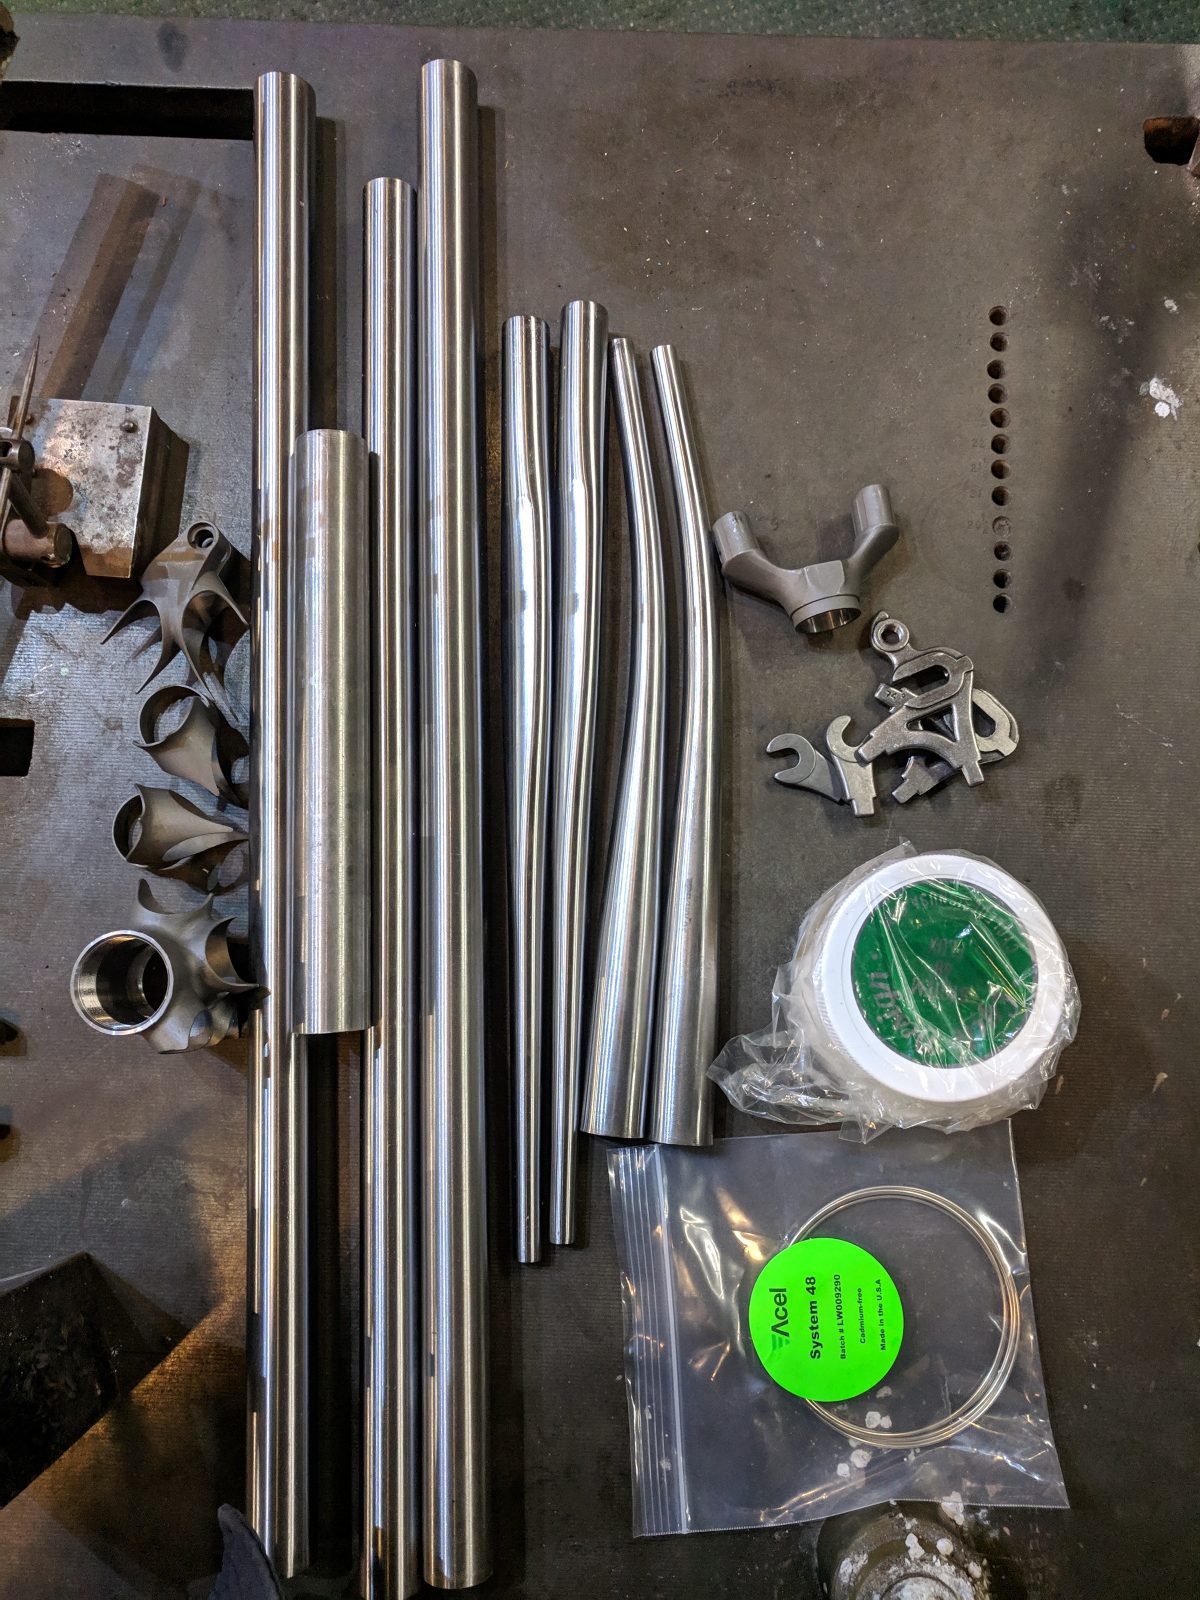
Before you even attend our bicycle frame building course we will have spent some time going through all the options on the build. I’m sure you’ll have plenty of ideas about your frame. The week before your course, we’ll get the tubing, parts, silver and flux ordered.
Ceeway Marketing supply a huge range of lugs and braze-ons as well as Columbus tubing.
Reynolds Technology are world famous for their steel tubesets.
Day 1 Outline
- Safety briefing – there are a few safety issues that we need to deal with first before we can start working in the shop.
- Frame Design & Tube Inspection – From our emails we will have a good idea as to what kind of frame design you are building. So the next step is check the tubes for straightness and make sure the butts are also to specification. The faceplate we use is not a jig as such but it will be set up to the size of frame your building and it will be our reference point all through the build.
- Steerer & Seat Tube Prep – Preparation is key to building a good frame. The steerer tube and the seat tube will be your first brazed joints, so you will learn ho to clean both tubes ready for brazing. The seat tube will also need a mitre to match the internals of the bottom bracket, we don’t use machinery for any of the operations, so you’ll be learning to file all the mitres.
- Lug Preparation – In order to build your frame with well brazed joints and tidy shore lines we need to spend time preparing them. Most lugs available these days are investment cast and very well made, however they still need work.
- Brazing Practice – I’m sure you’ve been looking forward to this bit. It’s always exciting to get the fire out. On a serious note though, we’ll practice the basics before we up the ante and move on to your first real brazed joint.
- Braze Fork Crown – The fork crown to the steerer is quite a simple joint, but it does take quite a bite of heat due to the thickness of the steerer and the fork crown.
- Braze Seat Tube to Bottom Bracket – The bottom bracket helps with the transition to the main lugged joints. Once you’ve completed the bottom bracket successfully you are ready to move on to the next joints.
Click here to find out what happens on day 2 of the course. Or click the link below to send for a free brochure.


Leave a Reply